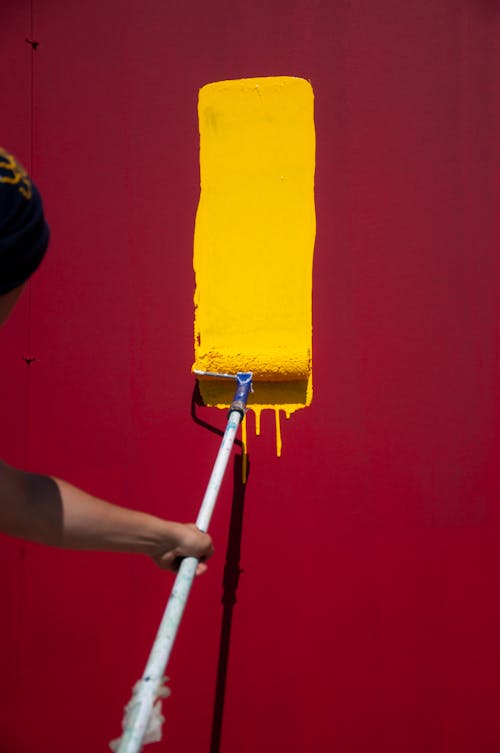
The task of painting over dark colours often comes with its own set of challenges that may seem daunting to the uninitiated. It's a venture that requires a blend of meticulous preparation, the right tools, and a dash of patience. In this guide, we'll navigate through the process, offering professional insights to empower you to conquer the dark shades and usher in a fresh, lighter hue.

Understand the Undertaking:
Before diving into the painting project, a thorough understanding of the task at hand is essential.
Assess the Situation:
Start by assessing the current state of the walls. Look for any cracks, holes, or other imperfections that need to be addressed. Lighter colours tend to be less forgiving and may highlight flaws more than dark colours. Take note of the type of paint currently adorning the walls and ensure it's compatible with the new paint you plan to use.
Set Realistic Expectations:
- Painting over dark colours often requires multiple coats to achieve a solid, even finish. Set realistic expectations regarding the time and materials you'll need. This mental preparation will provide a realistic framework as you delve into the project.
Prep the Surface:
A flawless finish begins with a meticulously prepared surface.
Repair and Sand:
Address any imperfections on the walls. Fill holes and cracks with spackle, and once it's dry, sand the surface to a smooth finish. This step is crucial to ensure a smooth, even paint application.
Clean Thoroughly:
Remove any dust, grease, or other residues from the walls. A clean surface will allow the primer and paint to adhere properly, setting the stage for a flawless finish.
Prime to Perfection:
Priming is a critical step in the transition from dark to light colours.
Use a Quality Primer:
A high-quality primer will provide a solid base for your new colour. It will cover the dark shades and ensure a vibrant finish for the new colour. It's a crucial layer that acts as a bridge between the old and new colours.
Consider a Tinted Primer:
If you're making a dramatic colour change, a tinted primer closer to the final colour can be a game-changer. It will provide better coverage and reduce the number of paint coats required, saving both time and material.
Choose the Right Paint:
The right paint is your ally in achieving a superb finish.
Opt for High-Quality Paint:
Investing in high-quality paint pays off in spades. Premium paints offer better coverage, durability, and a more refined finish. They may come with a higher price tag, but the long-term benefits are well worth the investment.
Consider Paint-and-Primer Products:
Modern advancements have ushered in paint-and-primer-in-one products. They can be time-savers, although they work best when the colour transition is not too drastic.
Employ Expert Techniques:
Mastering a few expert painting techniques can significantly elevate the quality of your work.
Use the ‘W’ Technique:
Start in a corner and paint a large “W” onto the wall, then fill in the gaps without lifting the roller. This technique ensures even coverage and reduces the likelihood of roller marks, which in turn minimizes time spent on touch-ups.
Maintain a Wet Edge:
Overlapping just-painted areas before the paint has a chance to dry will prevent unsightly lap marks. This technique is essential for achieving a seamless finish.

Don’t Rush the Process:
Patience and diligence are virtues in painting projects.
Allow Drying Time:
Ensure each layer of primer or paint is completely dry before applying the next coat. Rushing through this process may lead to uneven finishes and longer drying times later on.
Evaluate Between Coats:
Take a step back and evaluate the coverage after each coat. This assessment will help you decide if more coats are necessary, saving time on unnecessary layers.
Reflect and Enjoy:
Every painting project is a stepping stone to honing your skills.
Review Your Work:
Reflect on the process once the project is completed. Assess what worked well and what didn't. This reflection will be invaluable in honing your skills for future painting ventures.
Conclusion:
Transitioning from dark to light colours doesn't have to be a formidable task. With the right preparation, tools like the Rolla-wipa, and a step-by-step approach, you can achieve a stunning transformation. This guide aims to demystify the process, offering a structured pathway and professional tips to ensure your painting project is a resounding success. So, roll up your sleeves, arm yourself with the best tools, and step into a brighter, rejuvenated space adorned with your chosen fresh hues.
